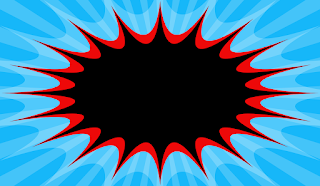
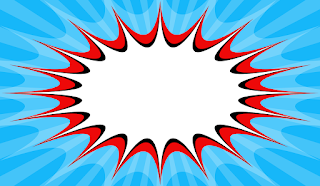
 Our first step is creating the background, I have chosen a nice shade of blue with the values of:
- Red - 22
- Green - 183
- Blue - 249
The next step uses shapes, the shape tool is found near the hand and path selection tool, from here we want a custom shape so click and hold down on the shape tool and then click "Custom Shape Tool".
From here, along the top toolbar, we can click the current shape selected and choose a different one. The shape we want though is different to the ones displayed. Click the small cog wheel on the drop down menu and another one will appear. After this, click on "symbols" and then "Append".
The shape we're looking for is "Registration Target 2", now we need to set the the colour of the shape. We'll be using a colour similar to the background but a bit lighter at these values:
Now place your cursor in the middle of your canvas with the shape tool active and drag outwards till it goes past your entire canvas and gives the effect shown here. This is great and now we can move onto the next stage of creating this piece of comic book pop art.
 | |
| When centred, it'll look like this |
Once these have been checked, type in the number of sides you want, in this particular tutorial we use 20 sides. The shape will be off to the side but we'll deal with this later once we've made all the shapes, so for the time being just make the opacity of this layer at 25%.
To make the other shapes fit into the one we just created, we need to transform it and make it bigger, we can do this by clicking the transform tool and then clicking the small chain link between the width and height of the shape. When we do this, both the width and height will adjust in unison. Type for the width to be 125% and the height will adjust with it. This is fine and we can now create our new shapes.
What was done before is just repeated again now but this time we use a different colour. Use the polygon tool and open the colour picker like we did for the white shape. Enter these values:
- Red - 237
- Green - 9
- Blue - 9
 Now click on your canvas once again but instead, this time change your "Indent Sides By" to 70%, this applies it so the red is inside of the lowered opacity white shape but both layers are still visible. The next step in this tutorial are basically a repeat of what we've just done once again.
This time though, fill your colour picker with solid black, click the canvas and set your "Indent Sides By" to 90%. It achieves the same effect as we did last time and we're almost done in creating a background now.
 Our last shape will be the colour white, so as usual, with the polygon tool being used, click on the fill colour picker at the top taskbar and select white. Click on the canvas once again and now indent the sides by 99% This gives use this desired effect.
Yours may not look like this and they may be off to the side, you can fix this by simply highlighting all the layers, clicking the move tool and then by clicking the "Align horizontal centre icon" and then the "align vertical centre icon". This will place it into the centre of your canvas.
Group all the shapes into a folder if you like but this isn't exactly needed, only if you want to keep everything neat or will be using this for later use or changing.
The next and last few steps are really simple and quick, this part entails adding the text over the shapes we've created. First, find a font that you like, in this piece i am using the "Death Rattle" font which can be found here: http://www.dafont.com/deathrattle-bb.font
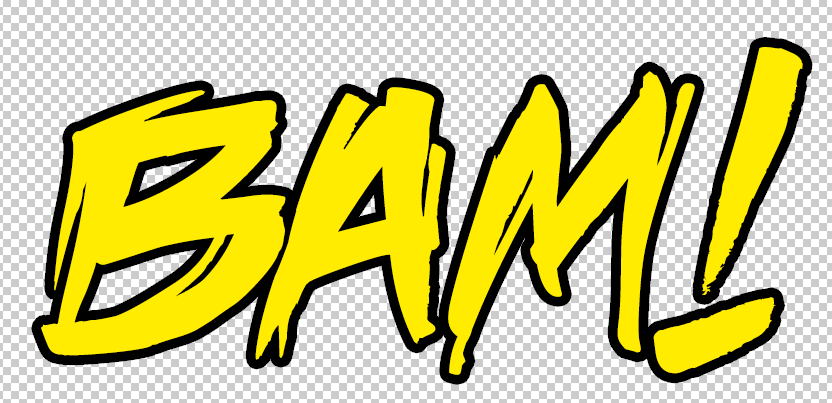
Now we need to select the font with our text tool and then write whatever we like or desire, I'm going to write "BAM!". Make this text pure yellow by using the colour picker or typing these values:
- Red - 255
- Green - 216
- Blue - 0

This is nice but we want it to stand out, we can do this by applying a blending option. Right click the text layer and select "Blending Options...", now tick the "Stroke" section and set the size to your liking but also make sure it's on the outside and not the inside of the text.
Perfect! But it doesn't look much like the pop art we're used to. We can remedy this issue with a simple filter technique. Head to Filter > Pixelate > Colour Halftone and then convert the text into a smart object when prompted to, another box will now appear but you will be keeping the default settings on this box.
Scale and rotate your text how you like inside your self-made background and maybe even resize and play with some of the letters in your text. Here is my finished result.


No comments:
Post a Comment