These are common and have been used throughout 2015 because of equal rights of all sexualities now being able to have a marriage together if they wish to or want to. To a lot of people this may not affect them, but to some couples, this is something they've been waiting for their entire lives. Since November of 2015, 14 different countries now support this and same sex marriages are legal, including countries such as America and England.
So, how do you create a rainbow selfie?
Well the process is really simple actually when using photoshop. Though social media like Facebook has this built in, and can palce this filter over a picture of yourself already, it's nice to create it yourself and be proud of something you made yourself.
We wont be using any tools for this except the transform tool to fit our LGBT pride flag to the canvas and over our picture. Because we'll be dealing with multiple layers, basic knowledge will apply as well as layer styles.
Step 1 -
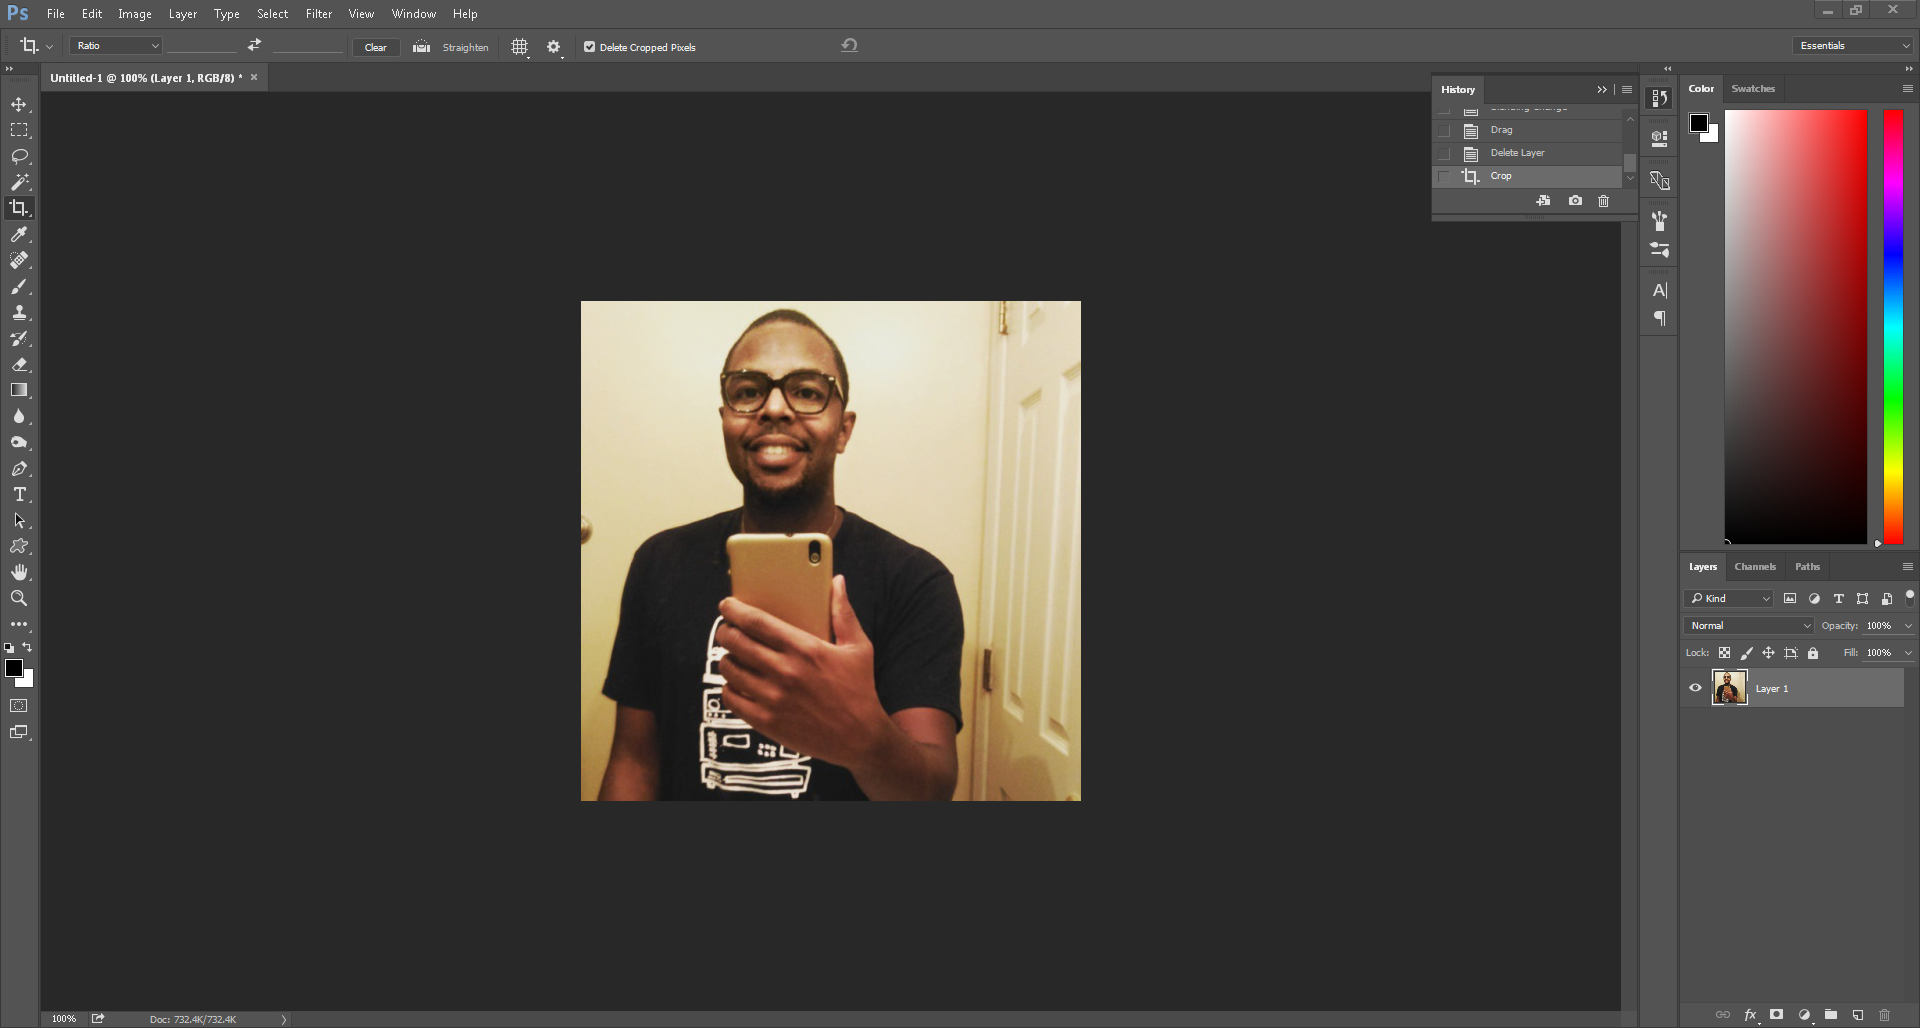 This step will bypass the fact and automatically assume you have a selfie of someone or yourself that you want to turn into a rainbow selfie. So skipping the selection part, open that selfie into photoshop. Here is a selfie I have put into photoshop. It's a simple drag and drop process or right-click then open with step.
Step 2 -
 Now we need to find an image of the LGBT pride flag on google. This can be created by yourself with the use of swatches and shape tools but there isn't really much of a need when it can be done in a much simpler way.
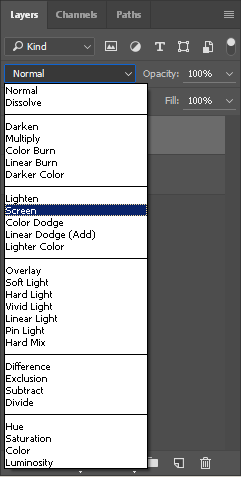 Once you have the flag image, drag it into photoshop and it should appear above your selfie. Resize it to fit the canvas and make sure every part of the flag is seeable, it doesn't matter if you resize to scale or not because the image is literally just solid blocks of colour.
Step 3 -
Step 3 is actually the last part in this simple and quick tutorial and all this requires us to do is use a layer style. To do this, notice where it says "Normal" on your layers tab and click it. A drop down menu will appear which you can select different styles/overlays.
Select "Screen" and this will apply it over your selfie lightly. If it doesn't look how you'd like it, try reduce the opacity a little to get the desired look you want.
Final Image -

No comments:
Post a Comment