Here are a couple examples of what people have created using this technique of folding paper or cutting up images of Ross Kemp's face:
| Ross Kemp on GMTV |
| A still from a youtube video of Ross Kemp cut up |
My own work in the style of Kemp Folds -
To start with this I think it should be clarified what will be done, as in what tools and also who i am going to use in order to replicate the images shown above. So with that short introduction out of the way, the only tool in this simple introduction is the Rectangular Marquee Tool and maybe copy+paste if you count that.
My image will be a picture of Donald Trump who in recent years has been extremely relevant online and in other parts of the world. The image used can be found here: http://www.thefaultreport.com.au/wordpress/wp-content/uploads/2016/01/trump.jpg
Step 1 -
First steps first i added the image into photoshop, this is an extremely simple thing to do and i think it goes without saying that no explanation is actually needed.
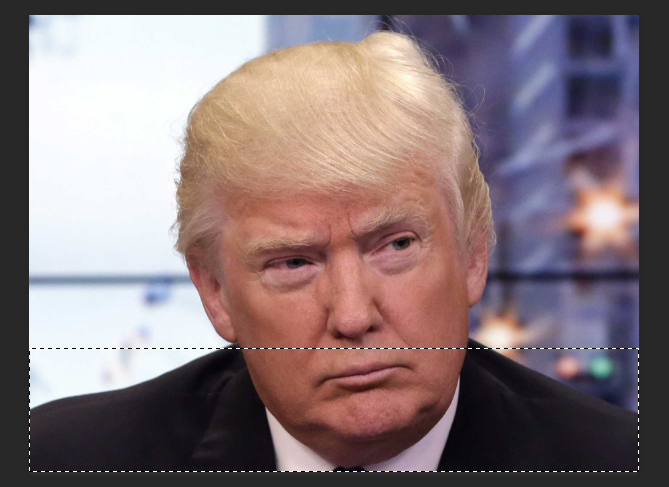
 |
| Notice the ant trail around the lower half of Donald Trump |
Step 2 -
Using the Rectangular Marquee Tool create a selection from one end of the picture to another. When you do this make sure that one of the facial features of your image like shown here.
Step 3 -
Copy this to your clipboard using CTRL+C or CMD+C and paste it on a new layer if its now created automatically when pasting.

Step 4 -
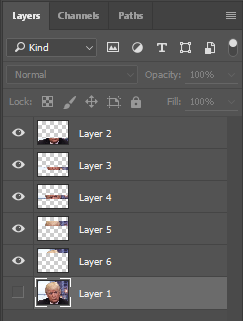
Step four is a repeat of the last two steps, do this for the nose, eyes and hair if you really want to. Make sure all these are on different layers though so we can recreate the image and piece them together differently to how we like.
This is what you should have by the time you've cut up your image into different pieces. Don't make if you leave some parts out of the original image, this just leaves for some more disproportionate fun when recreating your Kemp Folds styled picture.
Step 5 -
Adjust the different layers to your liking on the canvas, try make the nose shorter or the eyes closer to the bridge of the nose for instance. Do this by using the direct selection tool which is the first icon on your toolbar, its a simple click and drag process so it shouldn't be hard at all.
My results -
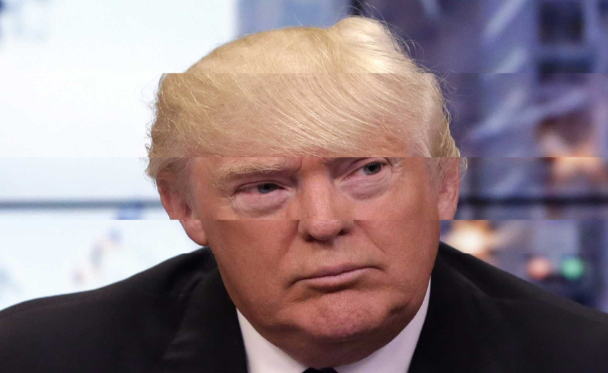
Here is my final and completed image using a Kemp Folds style as shown above. I have used Donald Trump for my image and have achieved this using the Rectangular Marquee Tool and Direct Selection Tool. Basic use and understanding of how layers work was also used for rearranging how everything pieces together.
Overall I am happy with the result but feel I could do better when presente with a face that is more directly editable and facing more forwardly and straight.
I did however get more into this and try my hand at using the clone tool alongside using a rectangular marquee tool, lasso tool and layer masks to create this:


No comments:
Post a Comment